Realtime Django Part 1: Build a Chat application with django, RabbitMQ and Vue.js (Introduction and Setup)

Prerequisites
This tutorial is not an Introduction to Django or Vue.
To get the most out of it, you should be familiar with Django. It’s expected that you’ve gone through the Getting Started guide and the Polling app.
You Should also be Comfortable writing JavaScript and know the basics of Vue.js. We are not building a complicated Vue SPA but if you’re not familiar with Vue, You can check it out the documentation and get familiar with it’s principles and API’s.
If have development experience with React or Angular you shouldn’t have problems understanding Vue because it draws a lot of things from both of them (Especially React).
During the course of this tutorial i’ll do my best to breakdown and explain any sections that i feel are complex or have a lot of Magic going on.
If you don’t understand anything, the comments are wide-open. Feel free to reach out.
Originally, this tutorial used uWSGI for the WebSocket layer. Times have changed and today (March 2021), django-channels is now the defacto way to handle WebSockets in django and it’s only going to get better. Hence, the tutorial was extended to incorporate django-channels. It’s still adviseable to go through each part to get a broad understanding of how django-channels works under the hood
Libraries involved
Python:
JavaScript:
What are you going to learn?
-
The main goal of this tutorial is to teach you about WebSockets and how you can integrate them with your django application(s).
-
While we walk through this tutorial you’ll also learn how to build your own “mini pusher” using
RabbitMQto broadcast messages in realtime to multiple clients. -
That’s not all, while we’re at it, We’ll build a simple token based auth system and you’ll see how you can connect a Vue.js SPA to a django backend with
django-rest-framework. There are a lot of Vue tutorials online but most of them are based onLaravelorNodeJS.
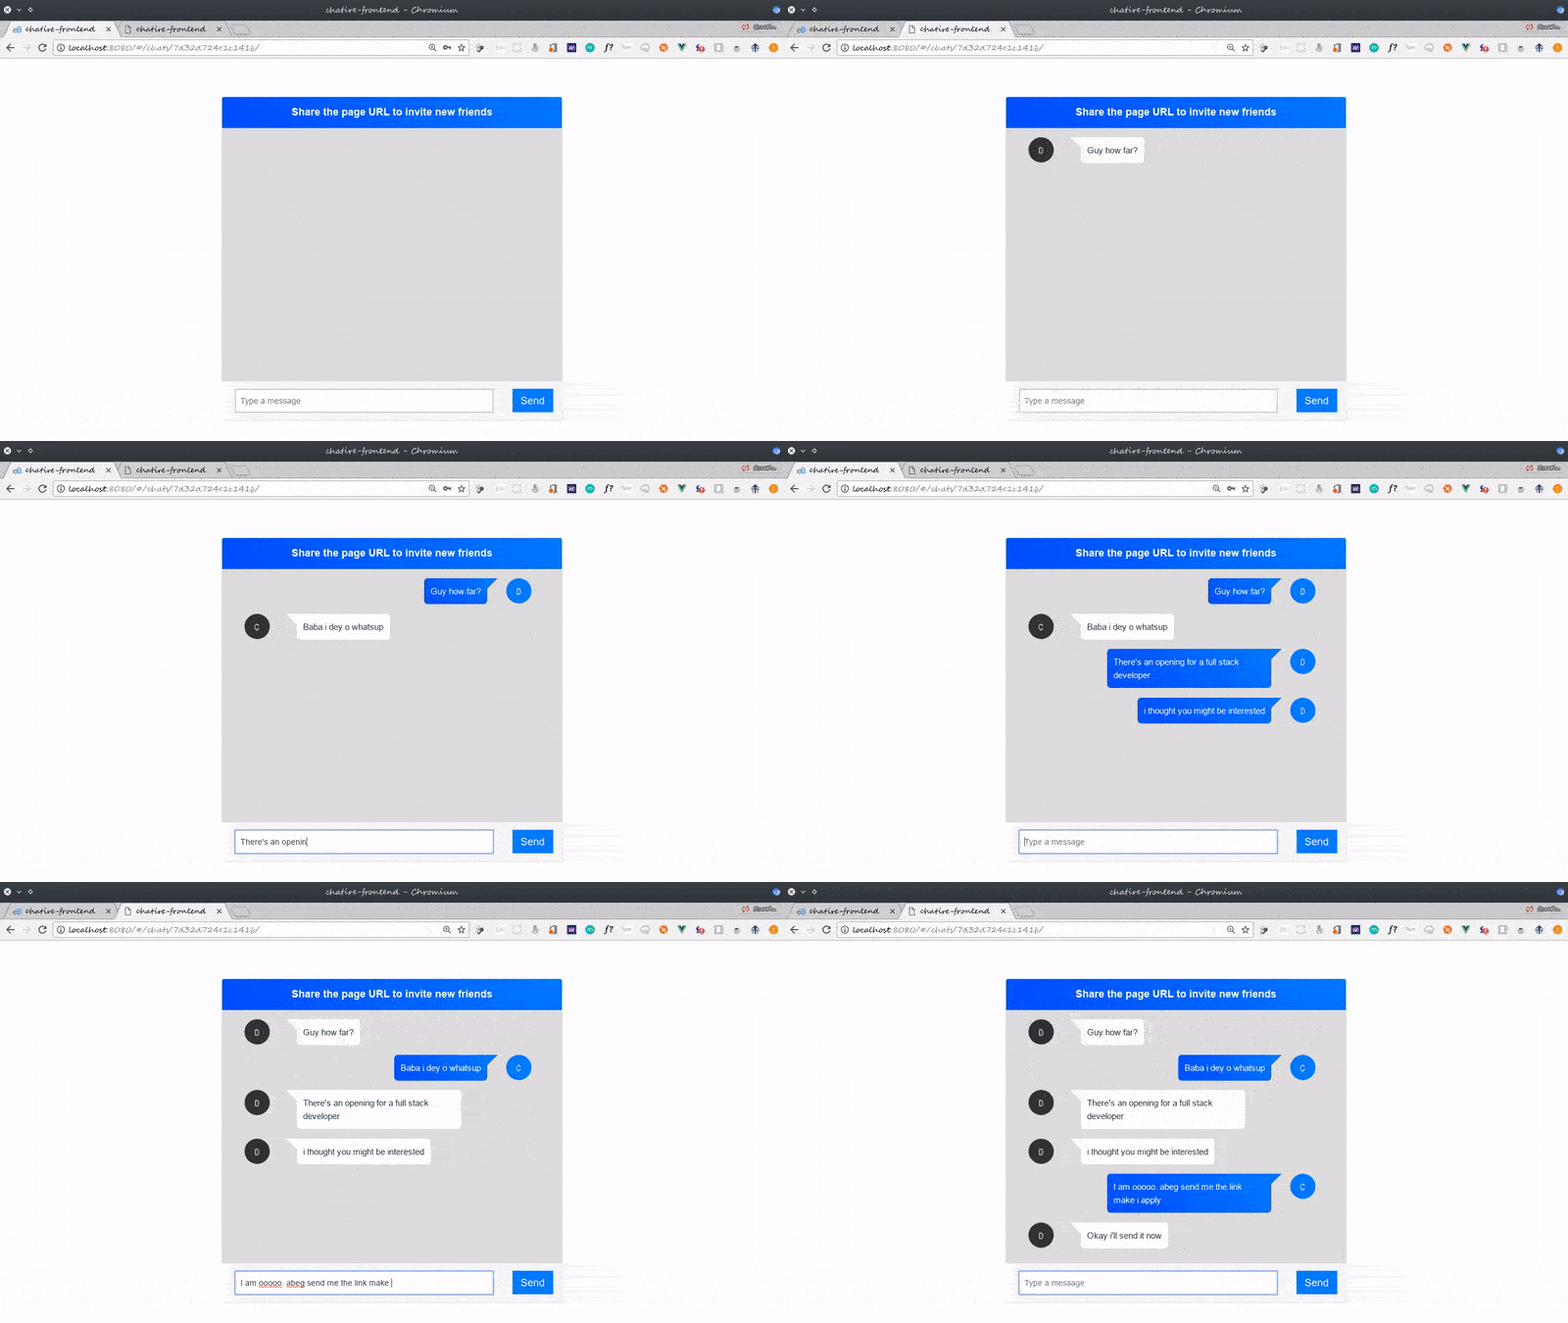
Before we proceed, this is a glimpse of what we’ll build:

I call the application chatire but you can call it whatever you want to.
Installation
Before you start make sure you create a virtual environment activate it
Go ahead and install django with:
$ pip install djangoafter that let’s start a new project called chatire.
$ django-admin startproject chatirerun the migrations
$ python manage.py migrateFinally, start the django development server with:
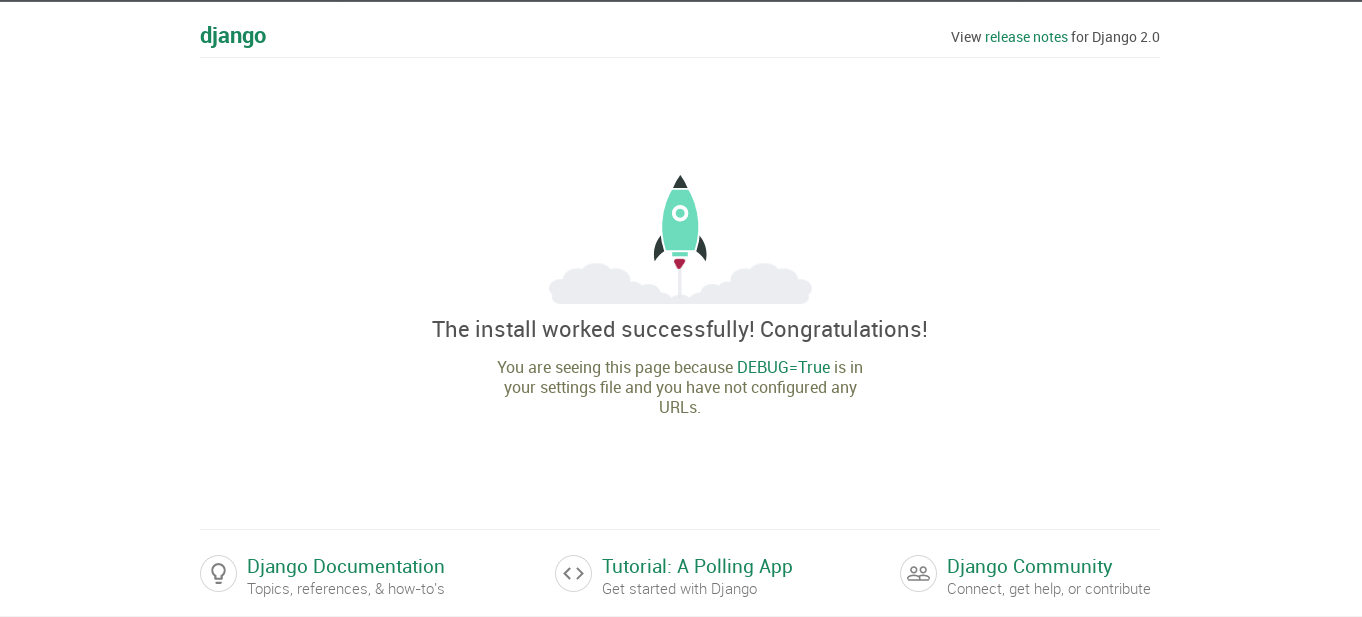
$ python manage.py runserverIf everything worked you should see this:

That wraps it up for this part, in the next part we’ll implement user registration and authentication with djoser.
The Repo for this tutorial is available on Github
Continue reading Realtime Django Part 2: Authentication and User Managment